Creating the Database
Log into your Hosting
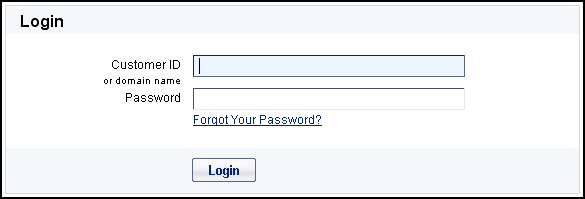
The first thing you need to do is login to your host. Different host will have different logins, but almost all have some sort of login via your browser.
Create the Database
You will need to go into the MySQL Administration Panel

Then you will need to provide a description and password to access your database.
Once you do that, you will be given the credentials to access your database, make sure you copy down this information.
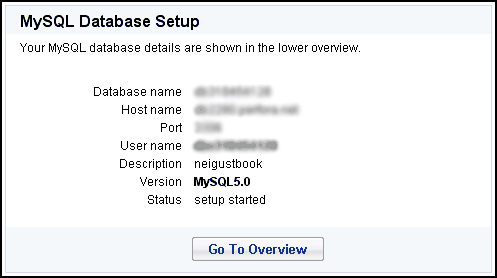
Depending upon your host, you may have to wait a few seconds to an hour for your new database to become available to you. The wait time often depends upon how busy the servers are.
Select the Go To Overview, or equivilent, button.
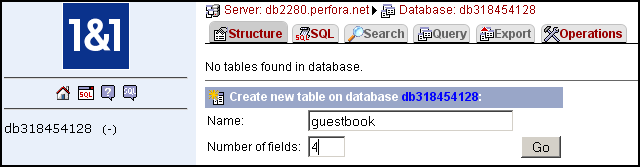
Select phpMyAdmin from the menu option.

Create the Tables and Fields
Once in the phpMyAdmin, you will need to create a table. Give the table a name, and how many fields you want to have. (You can always change this later if necessary. Then click the "Go" button.
Now we need to enter the table fields into the spaces provided. Notice the Add Fields option at the bottom.
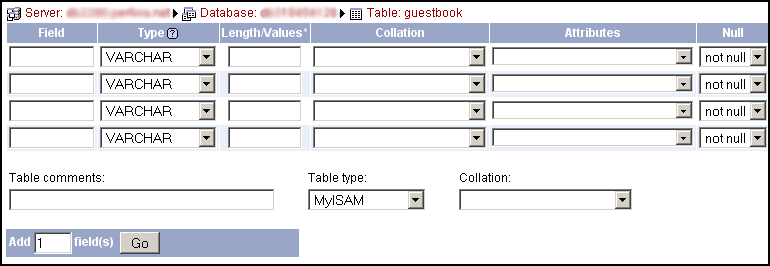
With the field information entered, we should see something like:

Notice the id field. We choose INT, made it unsigned (which doubles the possible values since it will not have any negaitve values), and selected the primary key radio button at the end.
The other fields are fairly self explanitory, especially if you read the designing the database file. Next we will need to see how to connect to the database with PHP so we can CRUD (Create, Read, Update, & Delete).